Upload Your Image
Drop your image here
or click to browse — JPG, PNG, GIF, WEBP
Fabric & Hoop
Colors
Working Pattern
Project Summary
| # | Color | Punches | Coverage |
|---|
- Trace the mirrored pattern onto the back of your fabric (window or lightbox works great)
- Punch outlines of each color region first, then fill inward
- Keep fabric drum-tight in the hoop — loops pull out if the tension sags
- Loops form on the opposite side (the front); check it as you go
Punch Needle Pattern FAQ
Why does the pattern need to be mirrored?
You punch from the back of the fabric, so the finished front comes out reversed from what you traced. Trace the mirrored pattern on the back and the finished front will match your photo. It matters most for letters and asymmetric designs.
What fabric does this assume?
Pick your pairing in step 2: monks cloth with rug yarn (~4 squares/inch), fine yarn (~6/inch), or weavers cloth with embroidery floss (~10/inch). The grid and true-size printing adjust automatically.
Can I print at actual size?
Yes — the True-Size PDF is scaled to your hoop or custom dimensions so you can trace it directly onto fabric with a light source.
Is it free?
Completely free, no sign-up, runs in your browser on any device. Your photos never leave your device.
Wall-art energy — more fiber decor patterns:
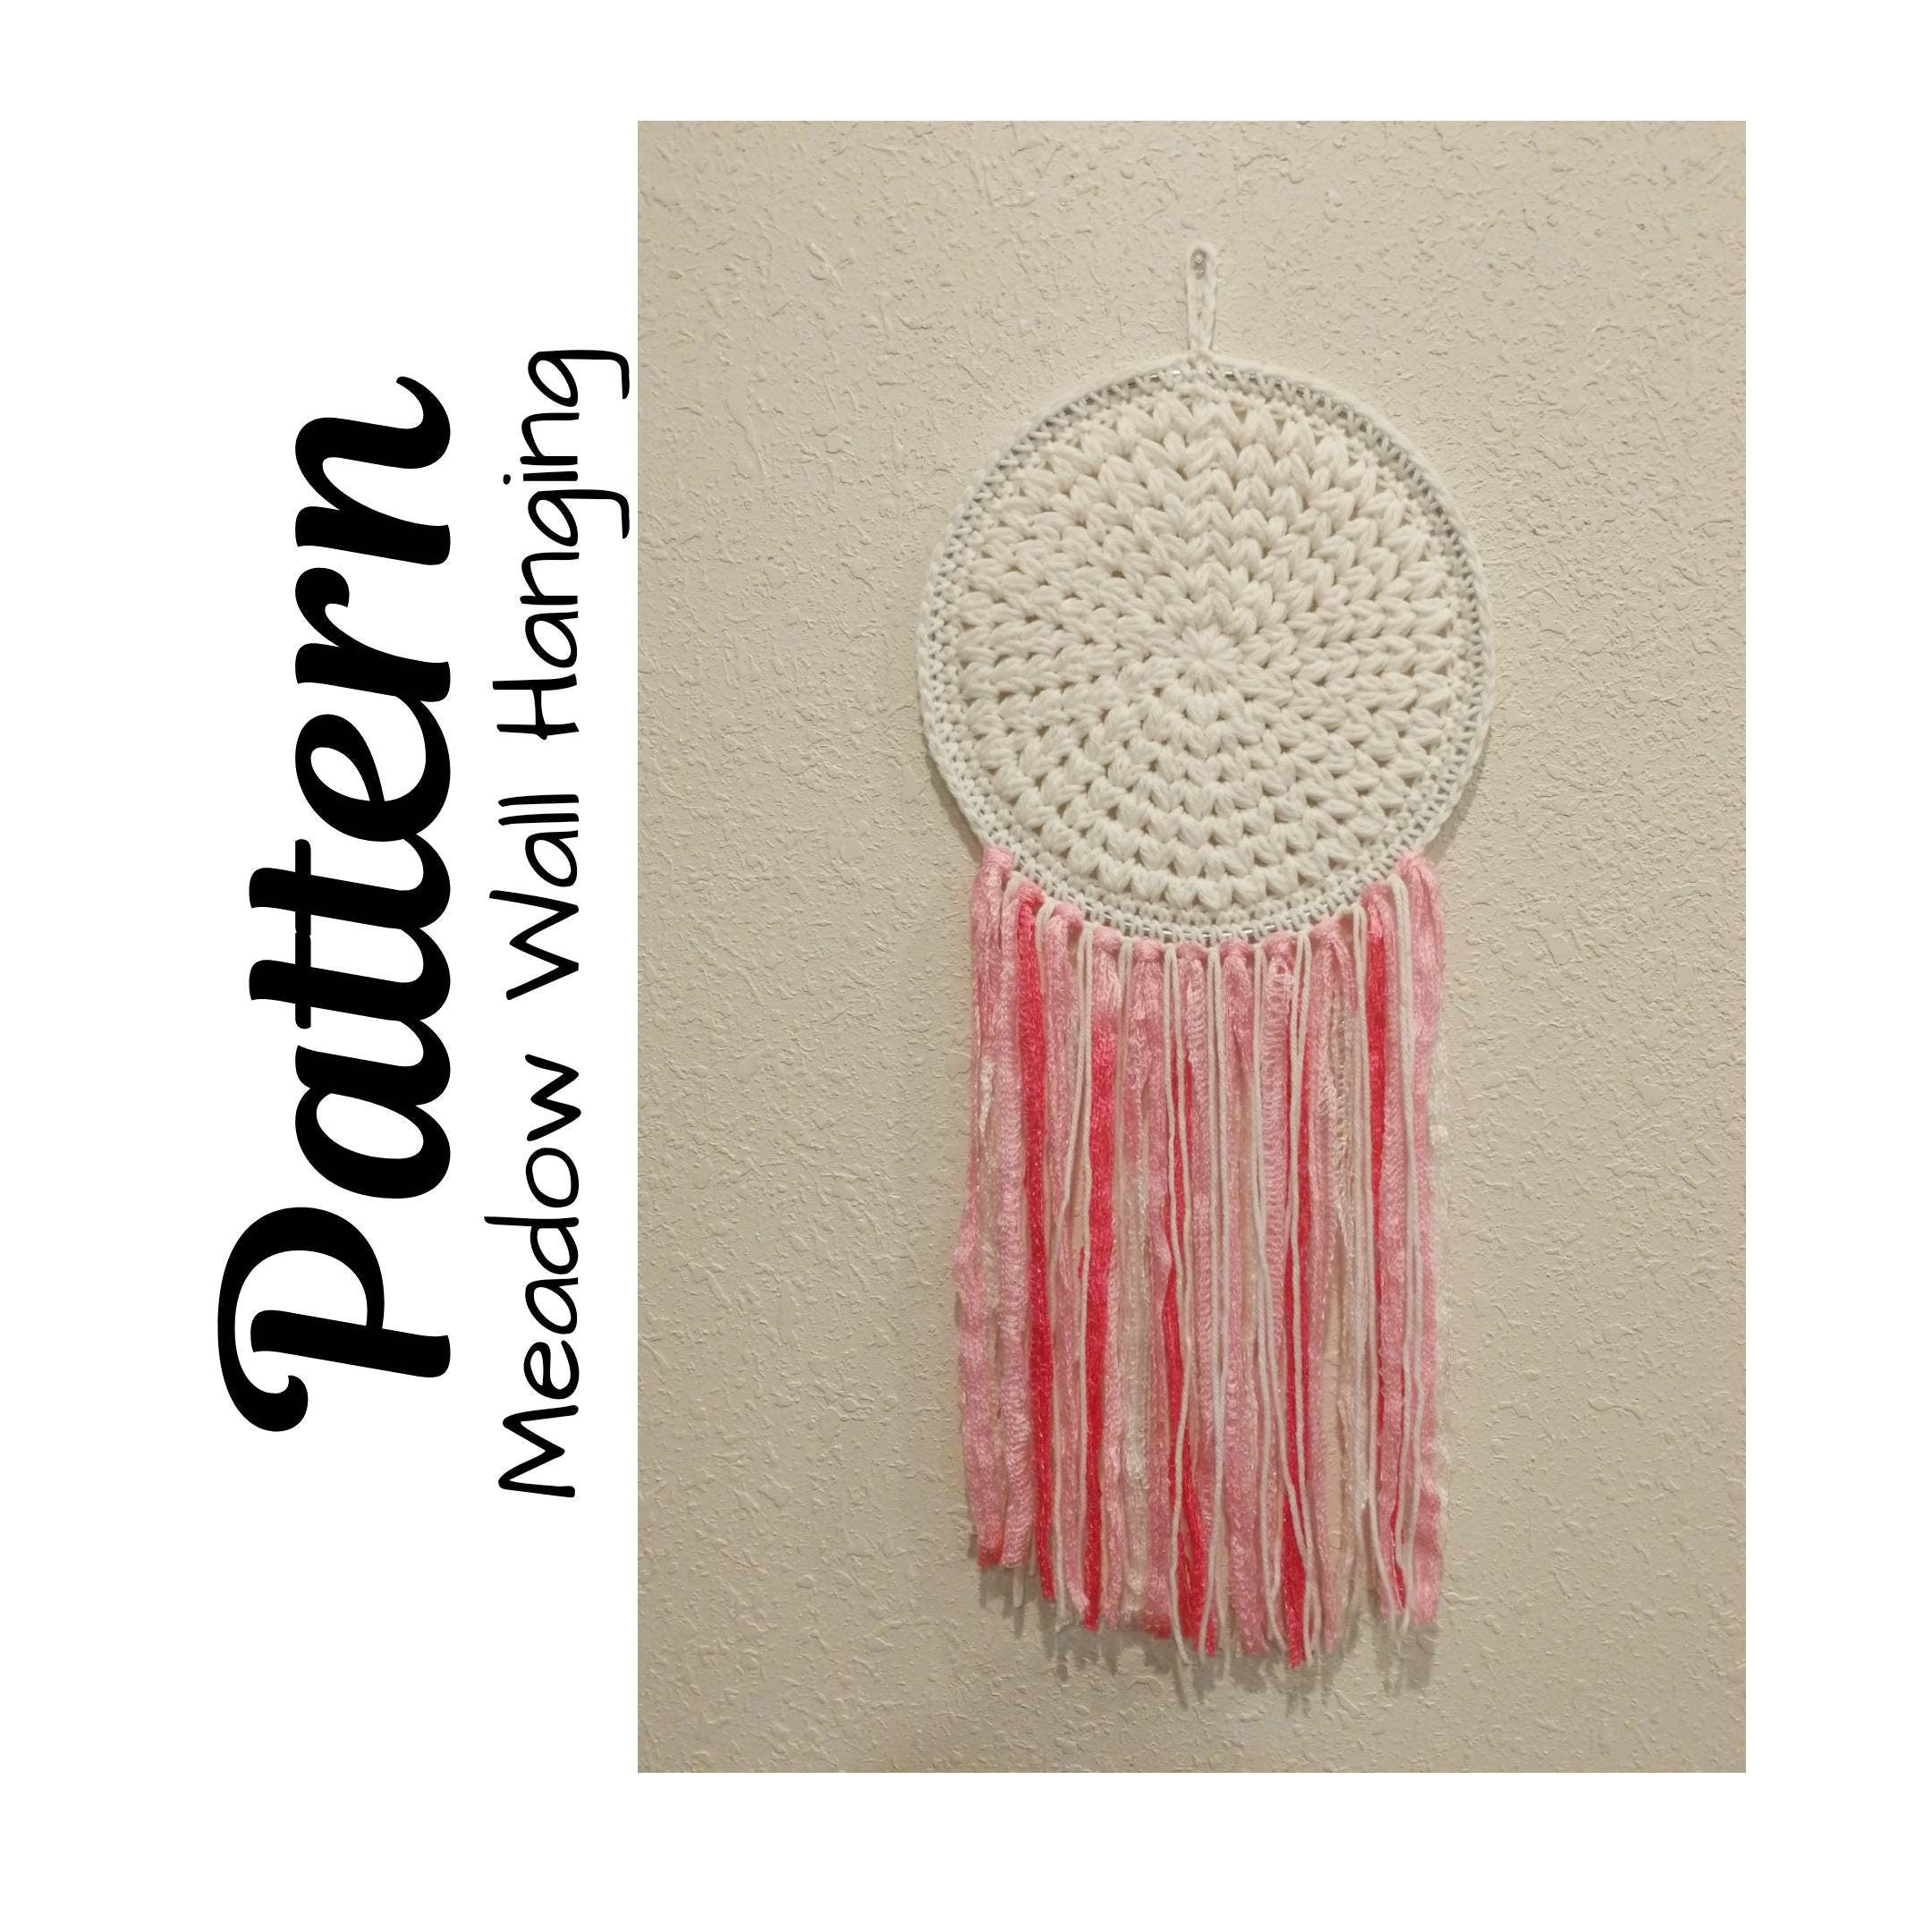 Meadow Wall HangingWall hanging$3.99
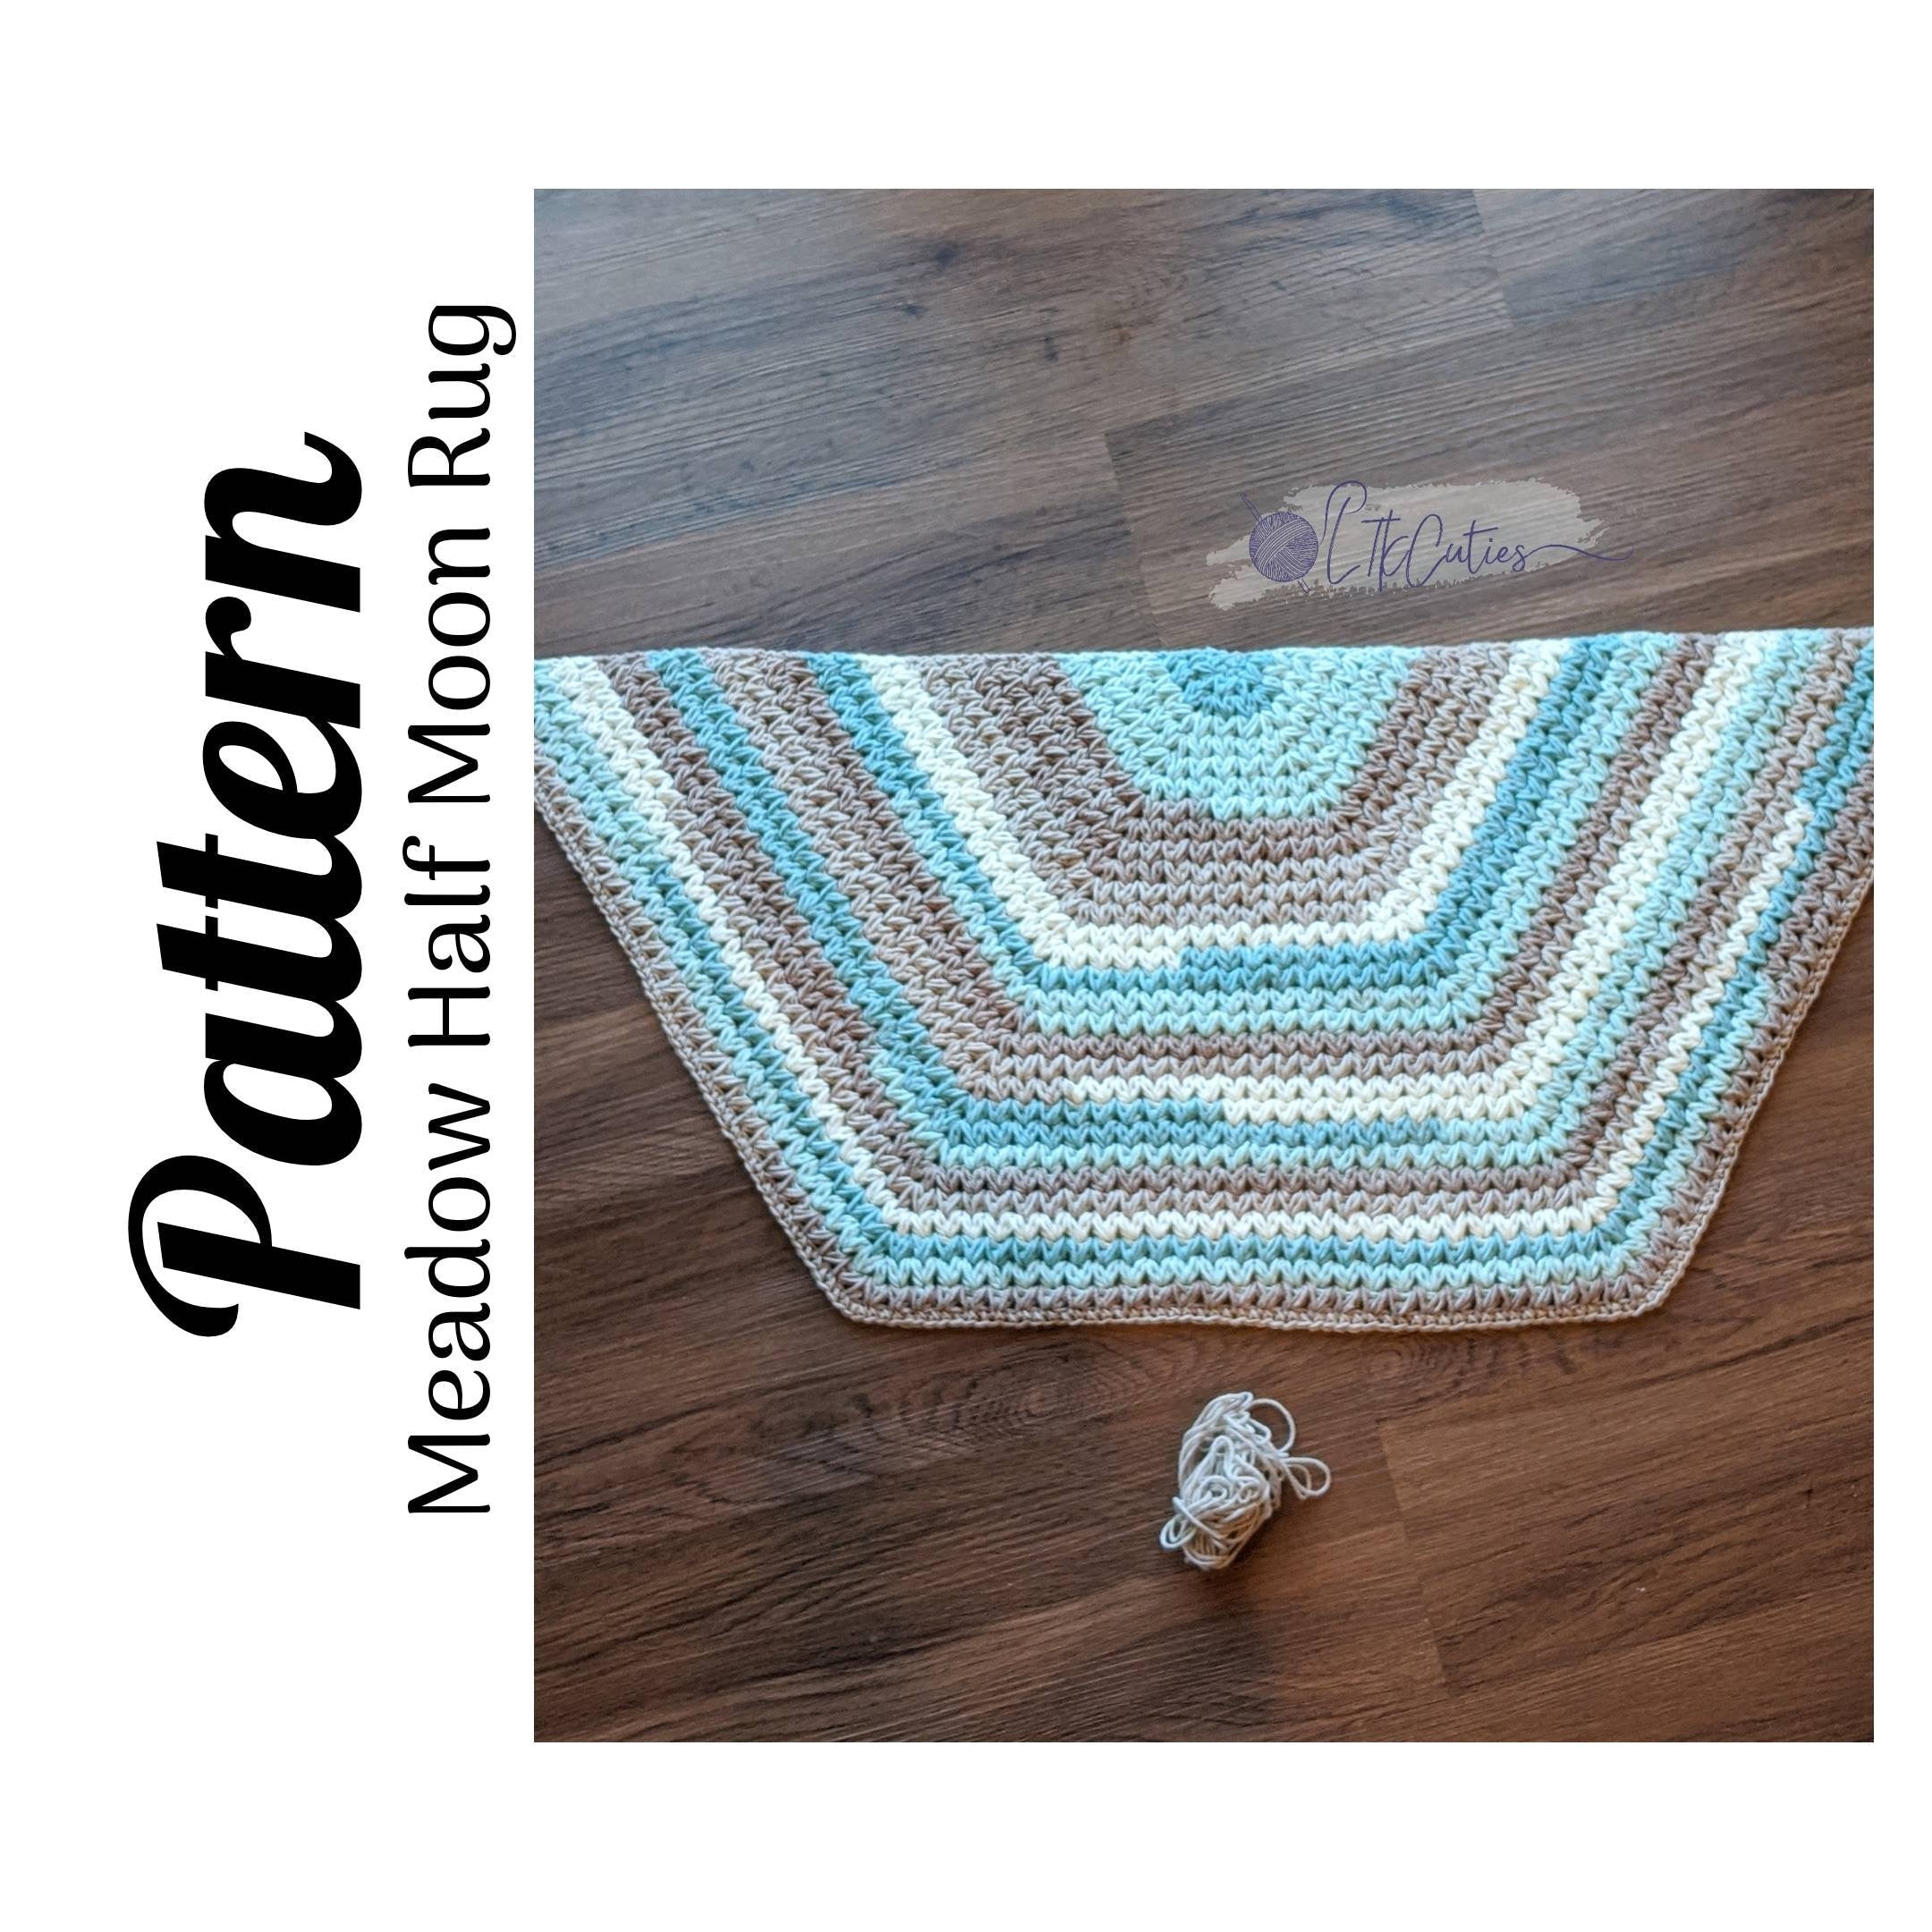 Meadow Half Moon RugCrochet rug$5.49
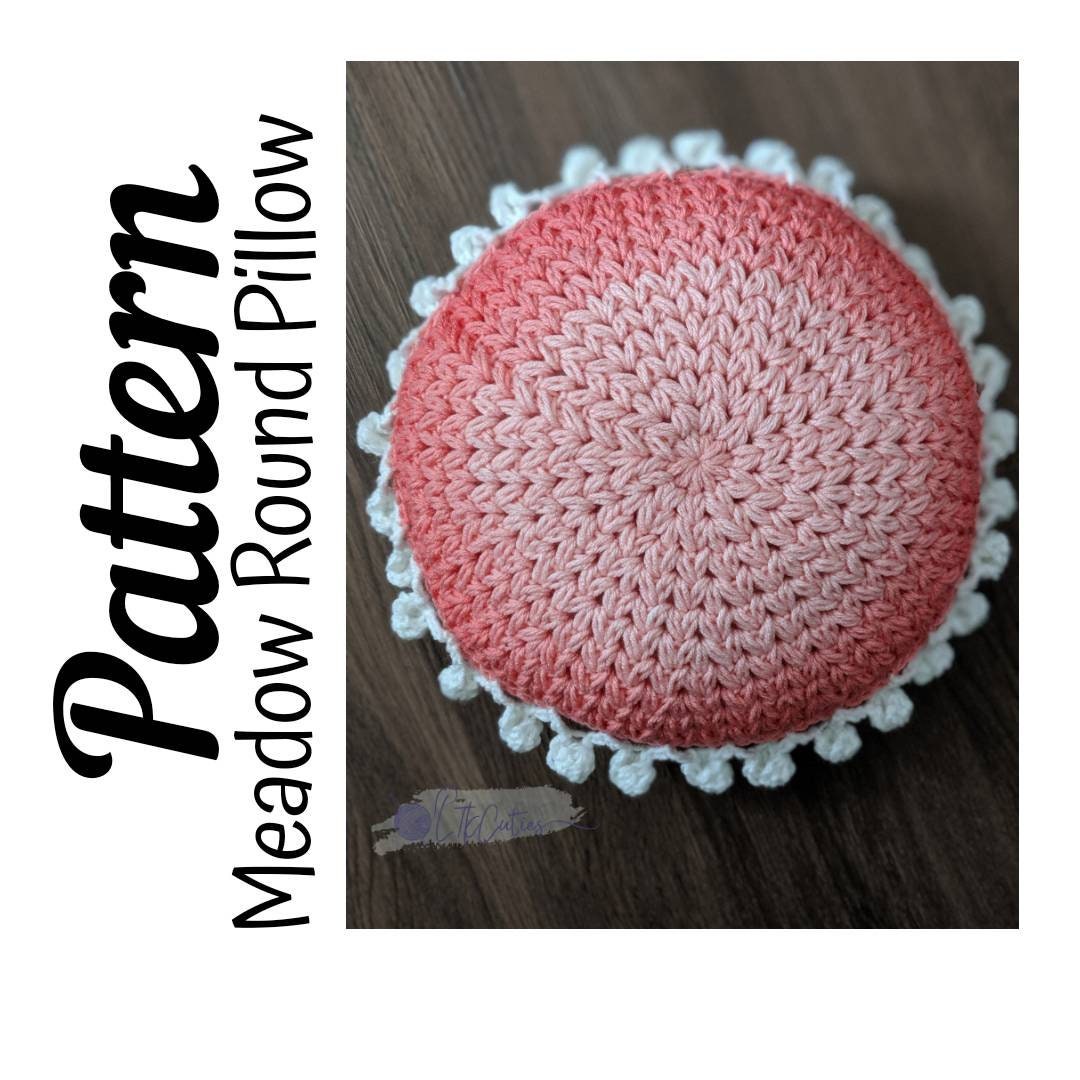 Meadow Round PillowRound pillow$4.49
Pattern ready!
Get 25% off your first pattern.
Join the newsletter and we’ll email you a one-time 25% off code — works on every pattern in the shop.
1–2 emails a month. Unsubscribe anytime.